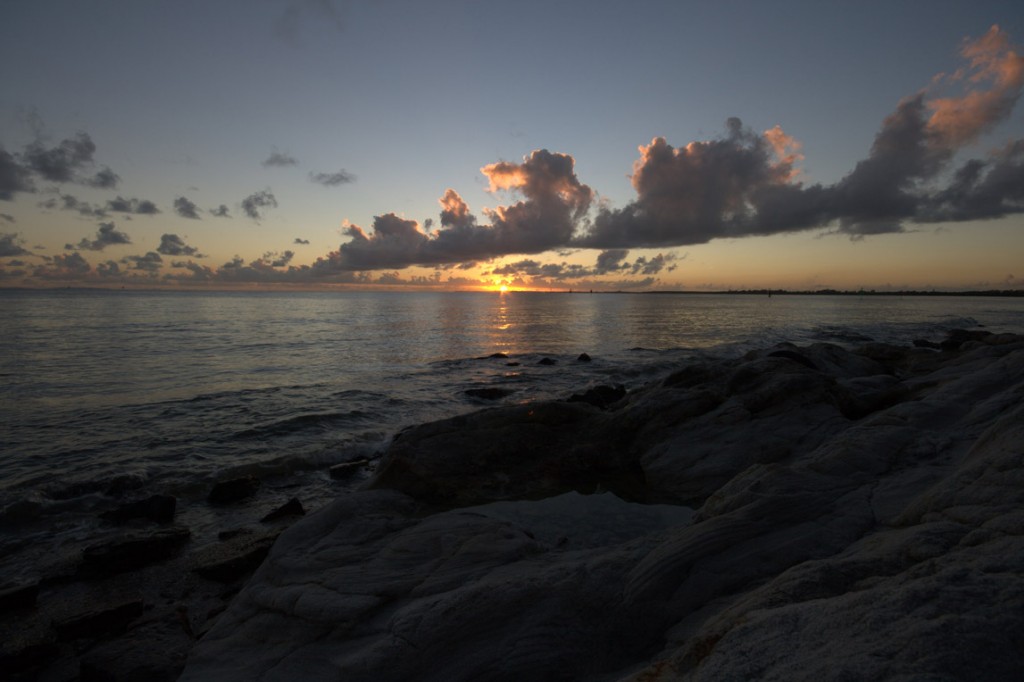
Here is the -1EV straight from the camera
My first tip is always shot in RAW format, you get a better dynamic range in RAW than in Jpeg’s, and if you can’t get a decent HDR you can always adjust the RAW so you can decent shot out of it.
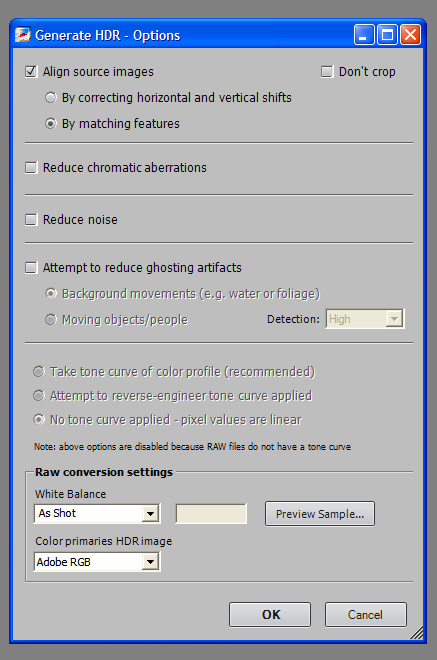
I take 6 exposures, -3 to +3 EV, I don’t have any scientific evidence to prove this but I think I get a better result from 6 than from 3 exposures. I use Photomatix for the HDR tonemapping, in the first screen just tick what you want and you think is suitable for you, I leave it like this. If I have a photo with some movement in it like moving clouds I’ll try ticking the box for Ghosting and Moving objects and set the detection to High. Sometime it works sometime it doesn’t. If it doesn’t and you shoot in RAW you can always make a HDR from a single file and use the sky and blend it in with the rest.
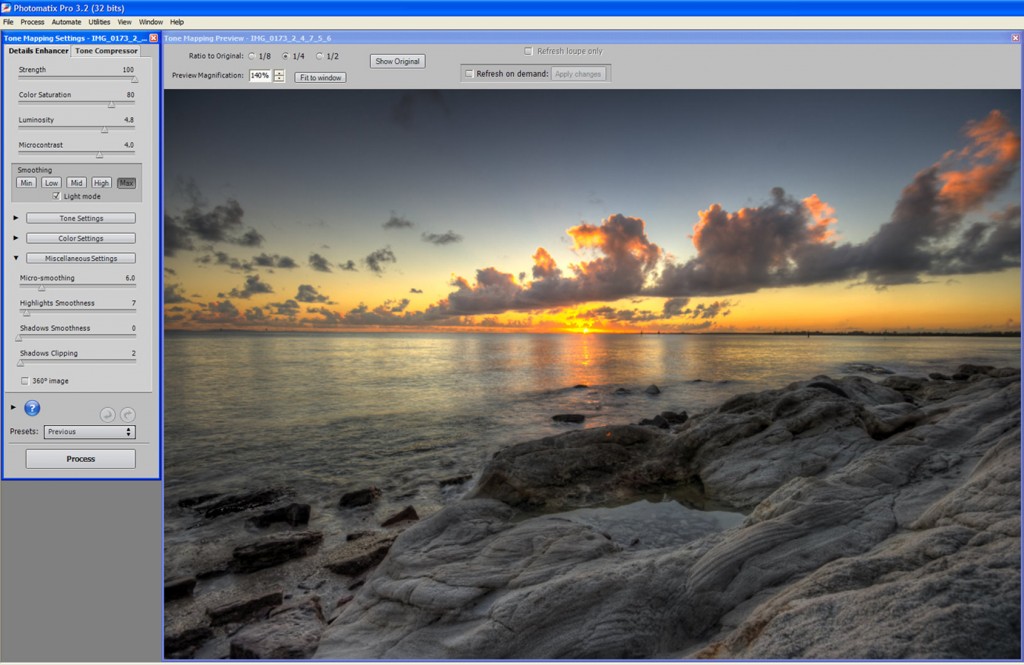
This is more or less the default setting I use, if I’m happy with the result I just press Process. If I have to make any changes I adjust the Luminosity,Microcontrast,Micro-smoothing or Highlights smoothness until I’m happy with the result. If you have problems with halo’s try adjusting the Highlights smoothness.
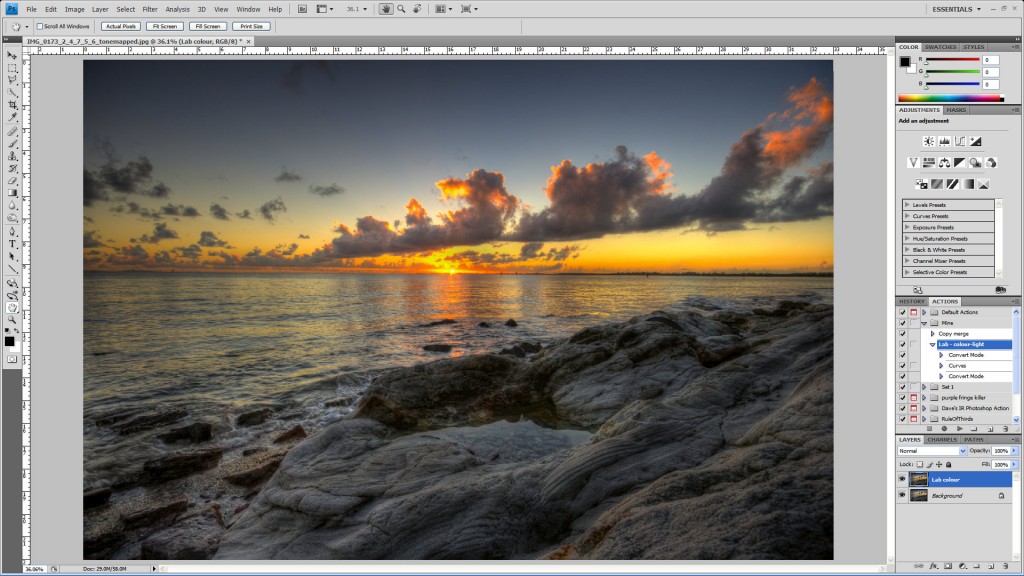
Next step is Photoshop. On this photo i cloned away the lens flare first. Then I apply a LAB colour adjustment, here is a tutorial explaining what to do Pump up the color.
I change this a bit to suite my liking, I do half the adjustment and skip the last s-curve bit.
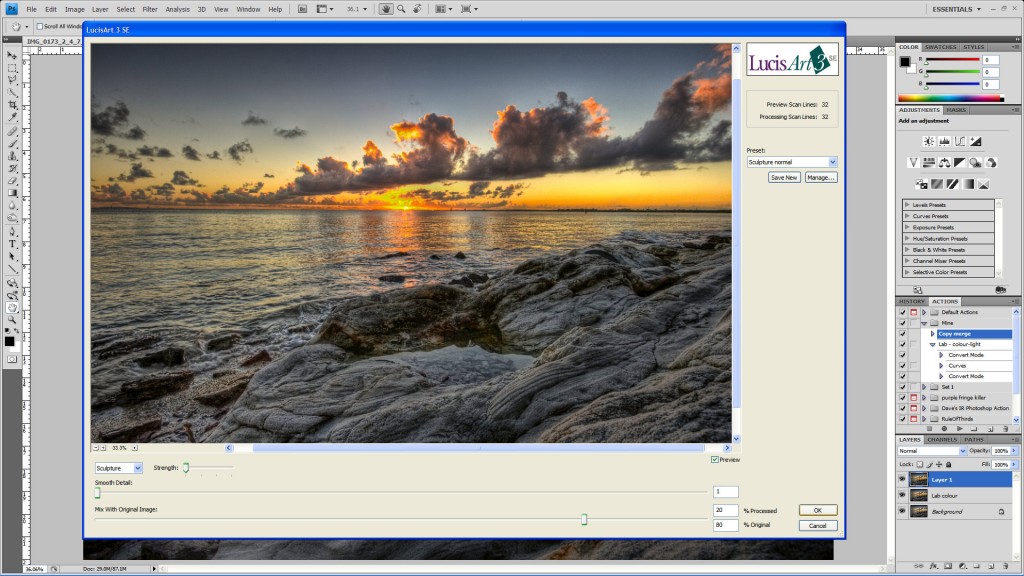
Next I use the LuciArt plugin to increase the contrast, it work wonders on rock and on wood but it also increase the detail in the darker areas. I use Sculpture with 20% blending. One drawback is that you get a lot of noise in the sky so I add a layer mask and go to Edit-Fill- White 100% and paint away with black the sections I don’t want the LucisArt on. If you ALT+ left click on the layer mask the image turns b&w and it’s easier to see where you have painted, and if you hit forward slash button instead of ALT + left click the painted area turns red.
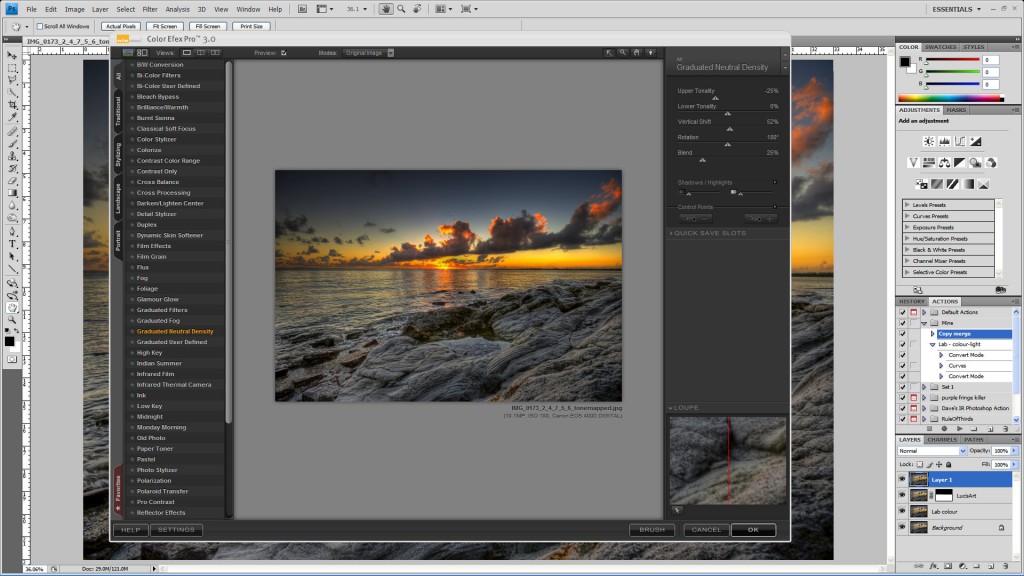
Next I use Color Efex pro to add a graduated Nd filter.
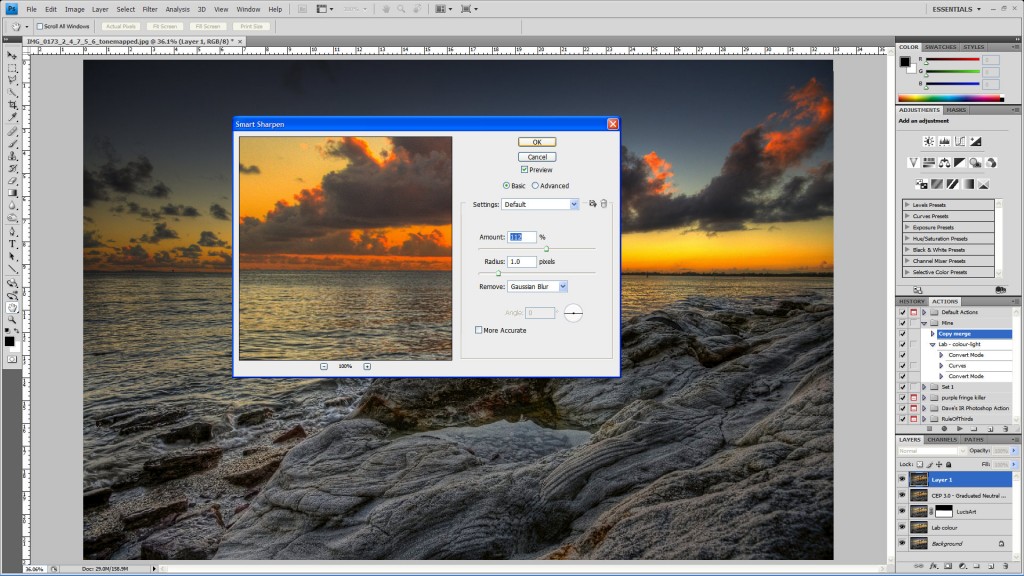
Smart sharpen.
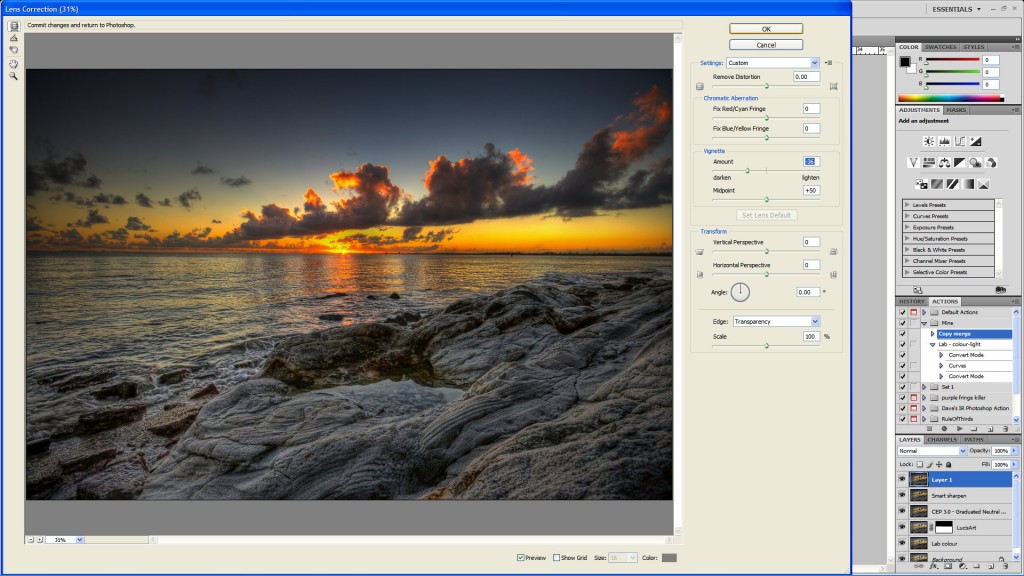
Adding a little bit of vignette
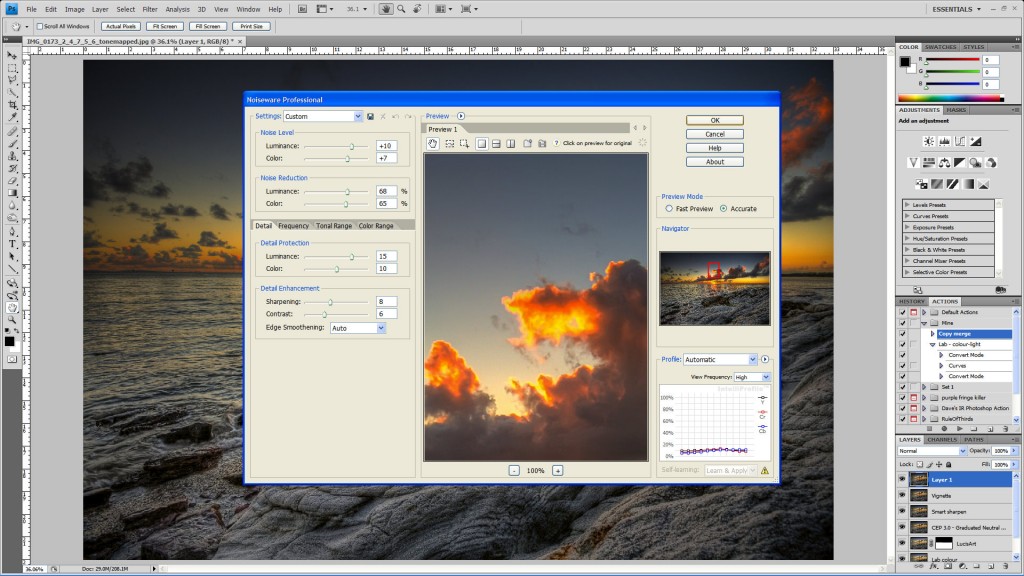
And last I use Noiseware to get rid of noise, the HDR process in Photomatix adds a bit of noise and LucisArt adds a bit more.
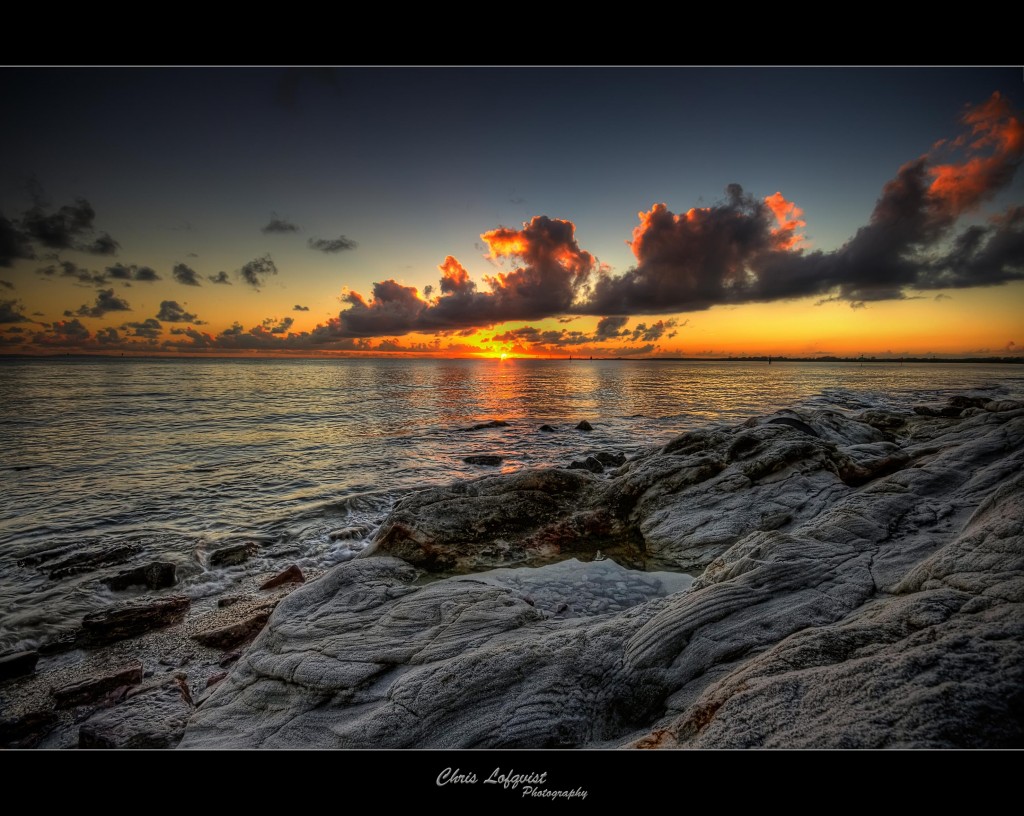
So here we are with the final edited image. I hope you like it.
One final tip is to always keep your lens clean, it’s very frustrating to spend a lot of time cloning away dirt marks from the photo and even if they are small the HDR process seems to exaggerate them.



Nice One — Very nice, simple and easy to follow tutorial Chris. Well done!
jokerking82 — thanks for your job!!! 🙂